This year (2021), I would like to work on being more self-sufficient by spending time increasing the size of my garden, and preserving more of my harvest. I would like to find an affordable way to switch at least part of my home to solar power, and install an energy efficient rocket mass heater. A more self-sufficient lifestyle will hopefully also help with my fitness and health, by eating fresher, home cooked meals and being more active by chopping wood to keep the house warm in the winter. Being more self-sufficient will also hopefully free up fund$$$ to expand my bee keeping and to assist others in learning to be more self-reliant.
Now with that said, I will be installing a new 4’x14’x8” hybrid garden. I say Hybrid because it will be a raised bed garden, but will be filled and managed with a “lasagna” and Ruth Stout no dig garden ethos.
That garden will not occur until Jan 2021, and I will give you more detail and pics covering it’s ‘build’ then.
For the moment, I would like to take a look at some other Hybrid gardens that I built 3 years ago. I built 4 of these Raised Bed/Hügelkultur gardens (3 large (3’x8’x16”) and 1 smaller (2’x5’x16”)) that I have grown cabbage, tomatoes, sweet potatoes, peppers, cucumbers and Jerusalem artichokes in successfully. I will continue to grow those items in these older beds, but I want to expand and grow corn, squash and beans which need good soil and more room (thus the new 4’x14’ garden). Additionally, now that the older gardens have built up and “stabilized” I will try some root crops in the way of carrots, turnips, and beets.
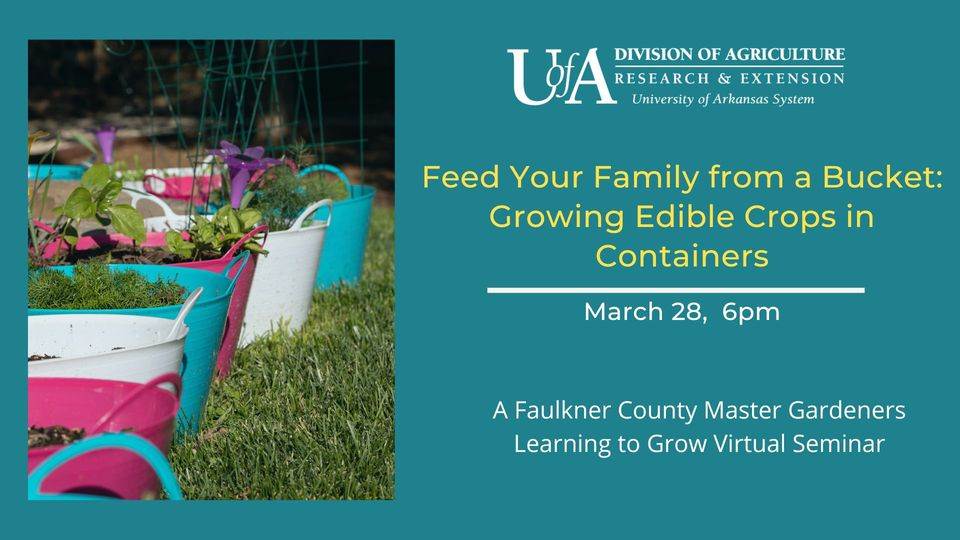
I will also be bringing you (in future installments) “how to” projects on growing in 5-gallon buckets, building beehives and beekeeping, as well as raising Quail as a meat and egg source.
Let’s get into the original raised garden beds build. The question is “Why would you make a raised bed when you have the same space already on the ground to make into a garden?” Well there are several answers:
Ease of gardening – many have found that raised beds are easier to access (less bending) and easier to maintain (less weeding) then a normal garden.
Viability of soil – some soils are not suitable for vegetable gardening de to composition or contamination. In cases of contamination, you will want to place a plastic barrier in the bottom of your raised bed to prevent your vegetables roots from growing into and absorbing the contaminated soil. In my case the soil under my raised beds is comprised of rocks and clay making the ground hard and un-workable.
Extended growing season – raised beds will “warm up” faster in the spring allowing you to plant earlier. Usually, you can add a greenhouse top to the raised bed to help with extending your growing season and protect your plants from early or late frosts (see picture 6).
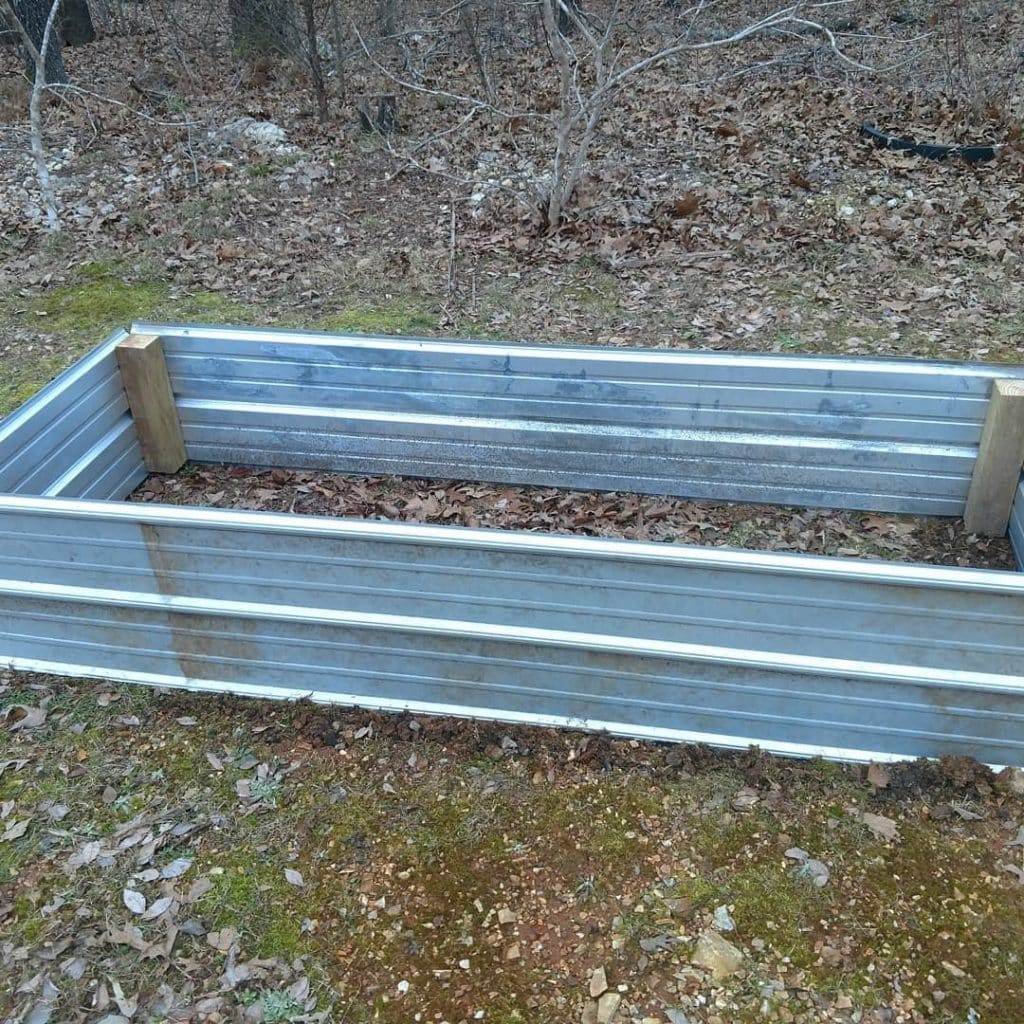
In this first picture (above) you can see the basic layout of the raised beds. I had some left-over galvanized roofing steel sheets that were 8’ long and 33” wide, and some left over 4”x4” posts from my deck build (you can make a raised bed from what ever you have available or can get.
This picture shows the metal that was cut in half down to ~16” from the original 33”. I used the 4”x4” posts cut down to 14’ in length as corner supports and places to screw the metal to.
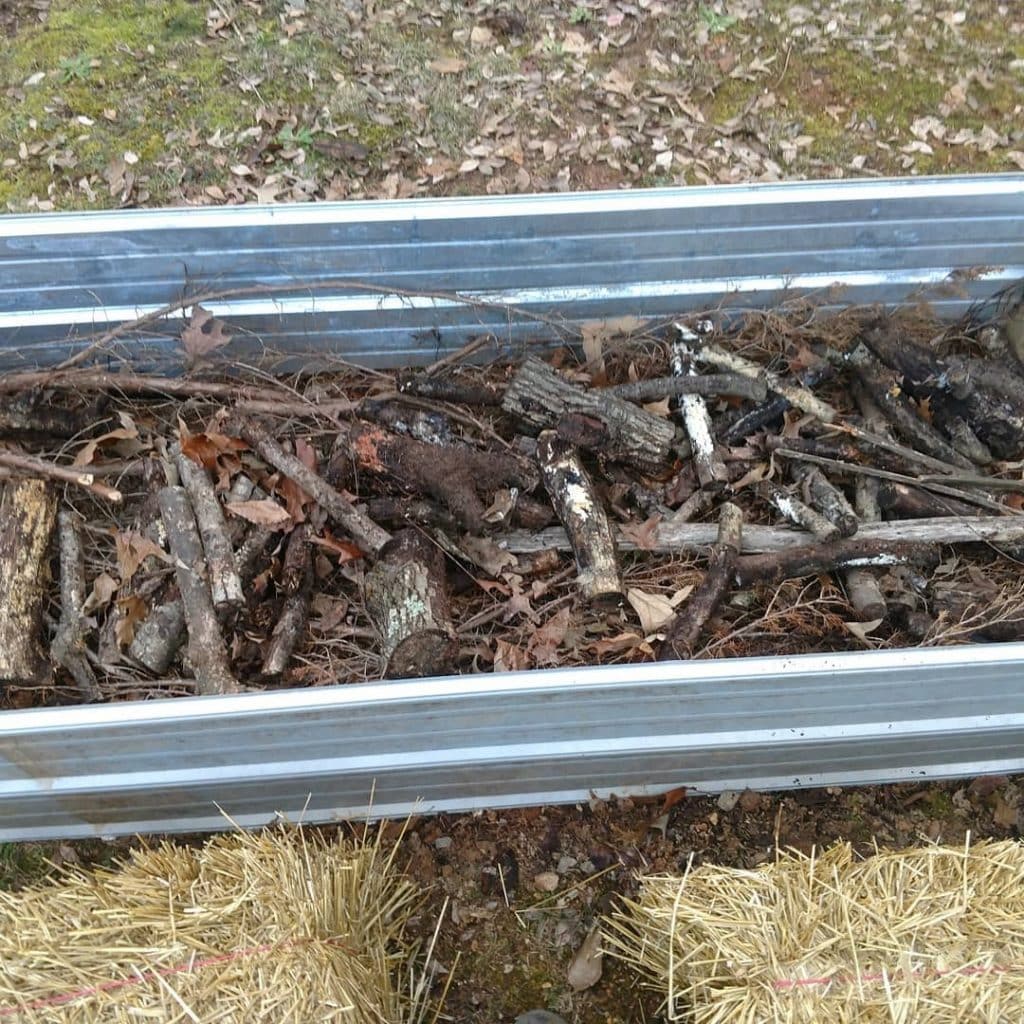
In picture 2 (above) you see the raised bed being filled approximately ½ full (in future I would suggest filling as near full as possible because the material will decompose faster than you think) with partially rotten wood and branches and other forest debris that here in rural Arkansas would normally just be burned. Using wood and other “debris” is the first start to Hügelkultur (I’ll provide a link at the end for more information on hügelkultur gardens).
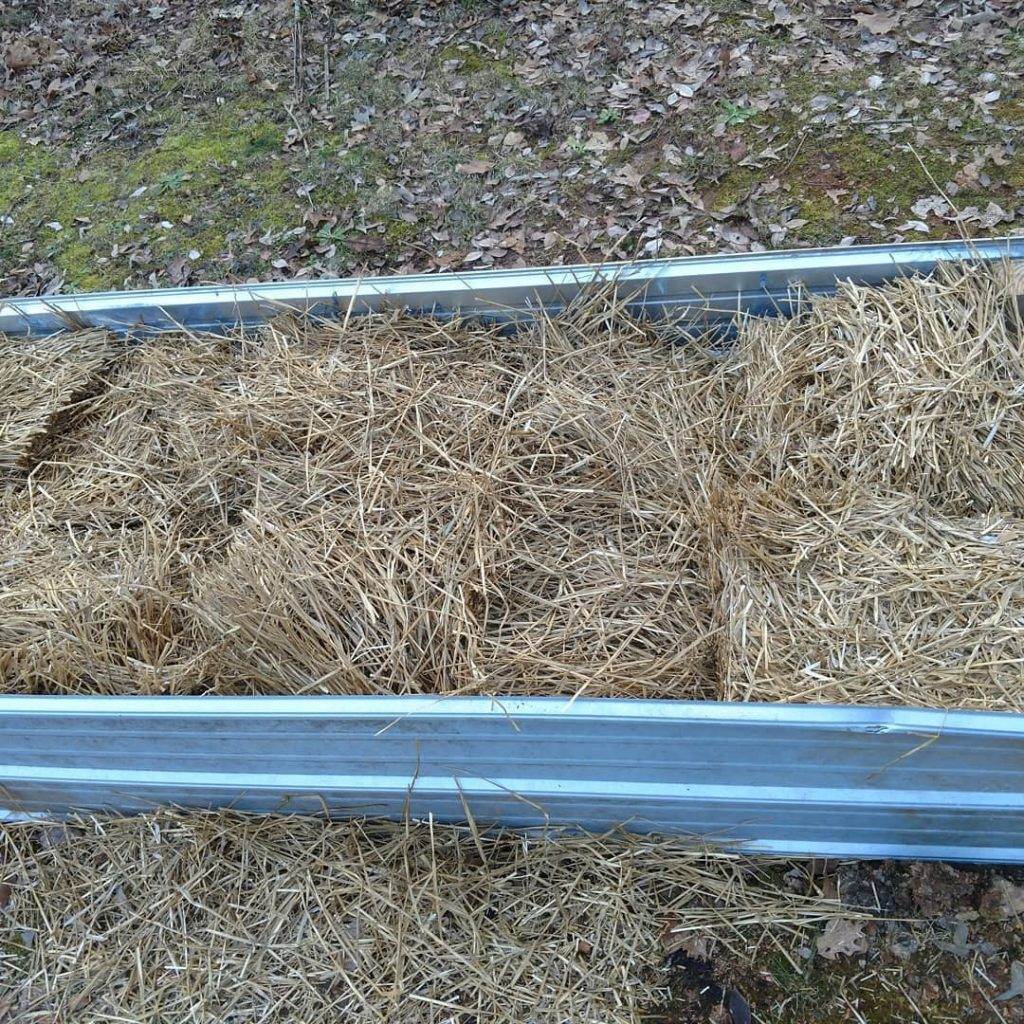
Here in picture 3 (above) you can see that I have continued filling the raised bed with some spoiled hay/straw. This is important to do before the next step to help limit the number of resources the next step will require. This makes a layer that the soil cannot fall through, make sure you pack as must hay/straw in between any gaps of the wood and debris as possible (the first 2 layers of wood and straw are important to a hügelkultur bed because they will help to hold water and decrease the need to water).
Something I learned later that I’m sharing now is that it would be a good idea to put “hot” or fresh horse, cow or chicken manure (coffee grounds are also a good source of nitrogen) between the wood and straw layers. This is because as the wood and debris breaks down at the bottom of the hügelkultur bed it will absorb nitrogen from the rest of the bed and deprive the plants of that needed resource. You can also utilize urea granules or straight urine to offset the nitrogen loss (although few people are willing or able to collect and “age” their urine, but it is cost effective, seeing as it is a free resource often flushed down the commode).
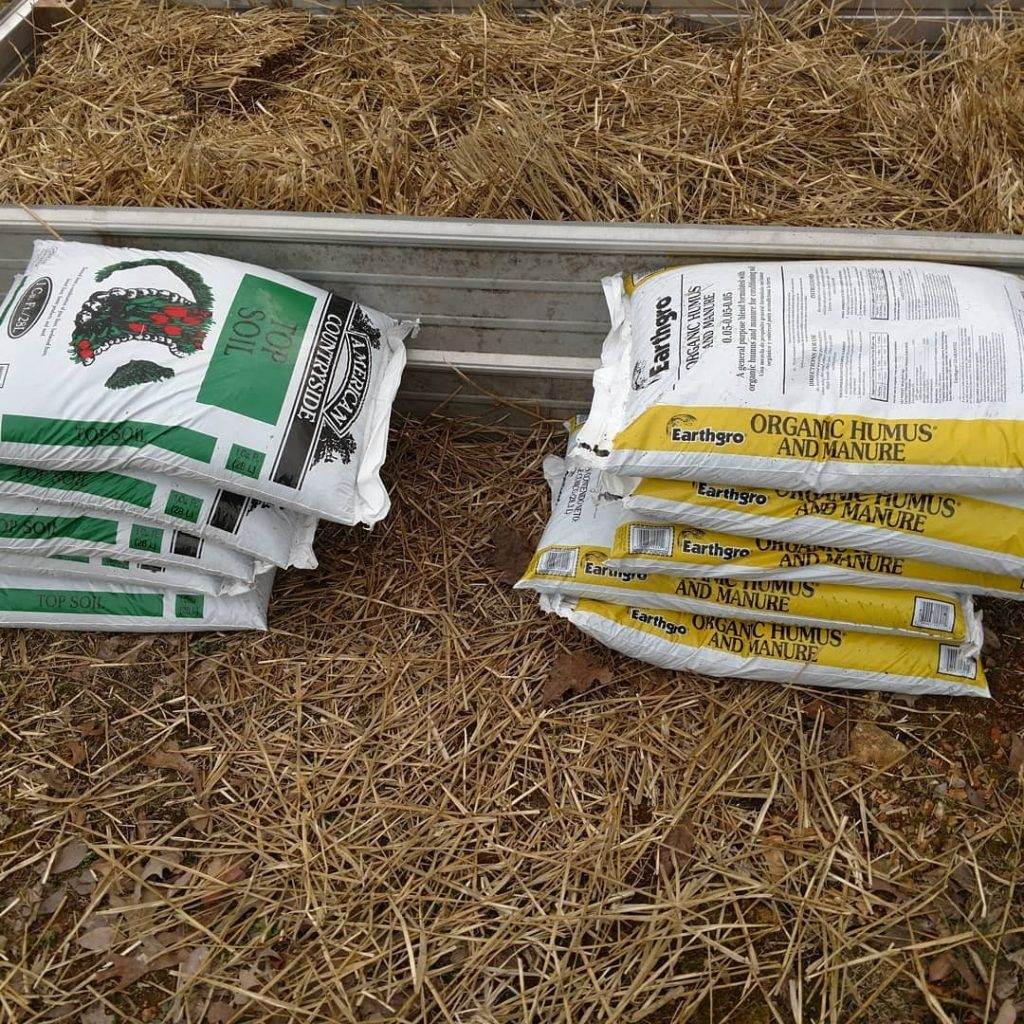
Here in picture 4 (above)you can see that I purchased bagged compost and topsoil. Each bag was purchased for less then $2 each, which kept the cost of each of the raised beds down to $20 apiece and all 4 beds under ~$80. If you can find a good supplier, I would try to get a delivery of topsoil for cheaper.
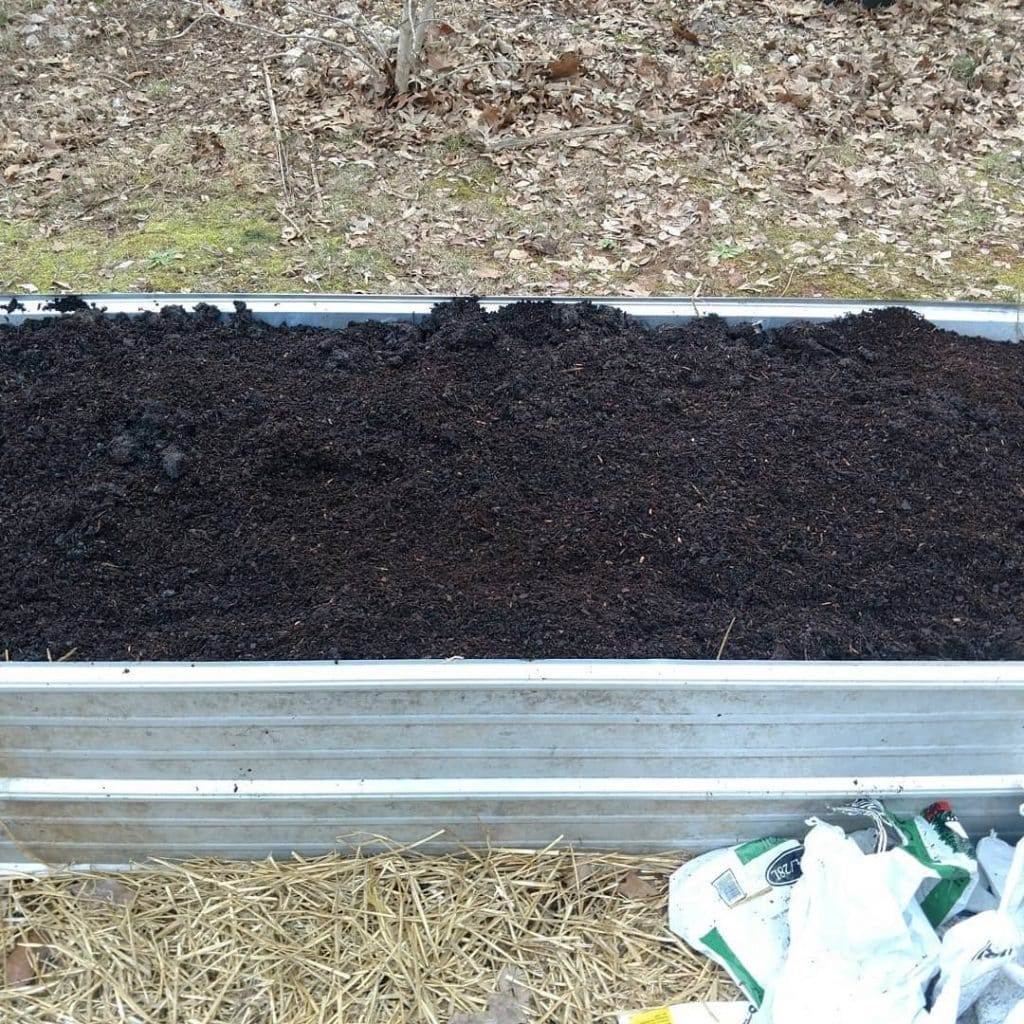
In picture 5 (above) you can see that I have added the topsoil and compost to the raised bed, and it is ready to plant.
Special note: Make sure the compost and any straw is from a reputable source. In recent years both have been found to have broadleaf herbicides “Picloram, Clopyralid or Aminopyralid” contained within (hay is often made with clover and alfalfa and is less likely to have an herbicide). To learn more about these herbicides here is a link: https://www.the-compost-gardener.com/picloram.html
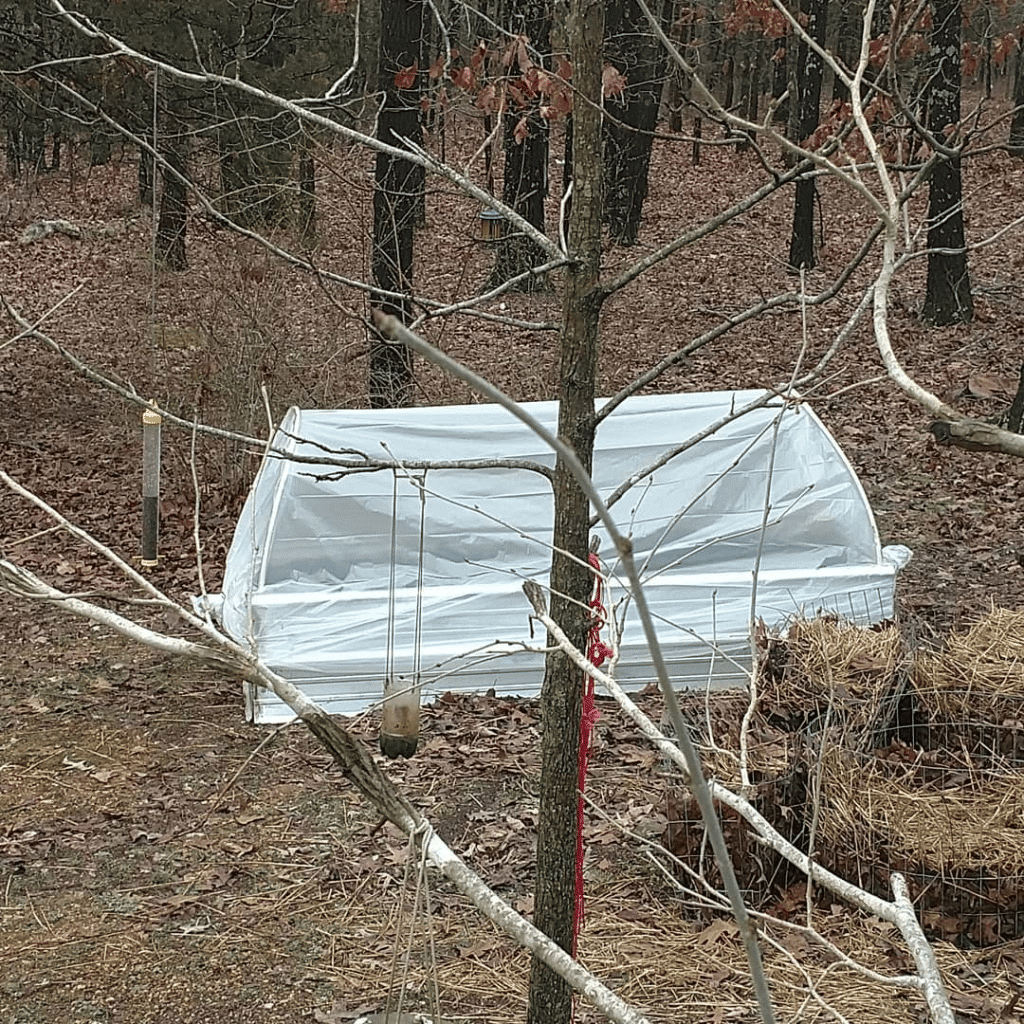
Picture 6 (above) shows a plastic “tent” that was placed on top of the raised bed acting as a mini-greenhouse and protecting seedlings from frost/freeze.

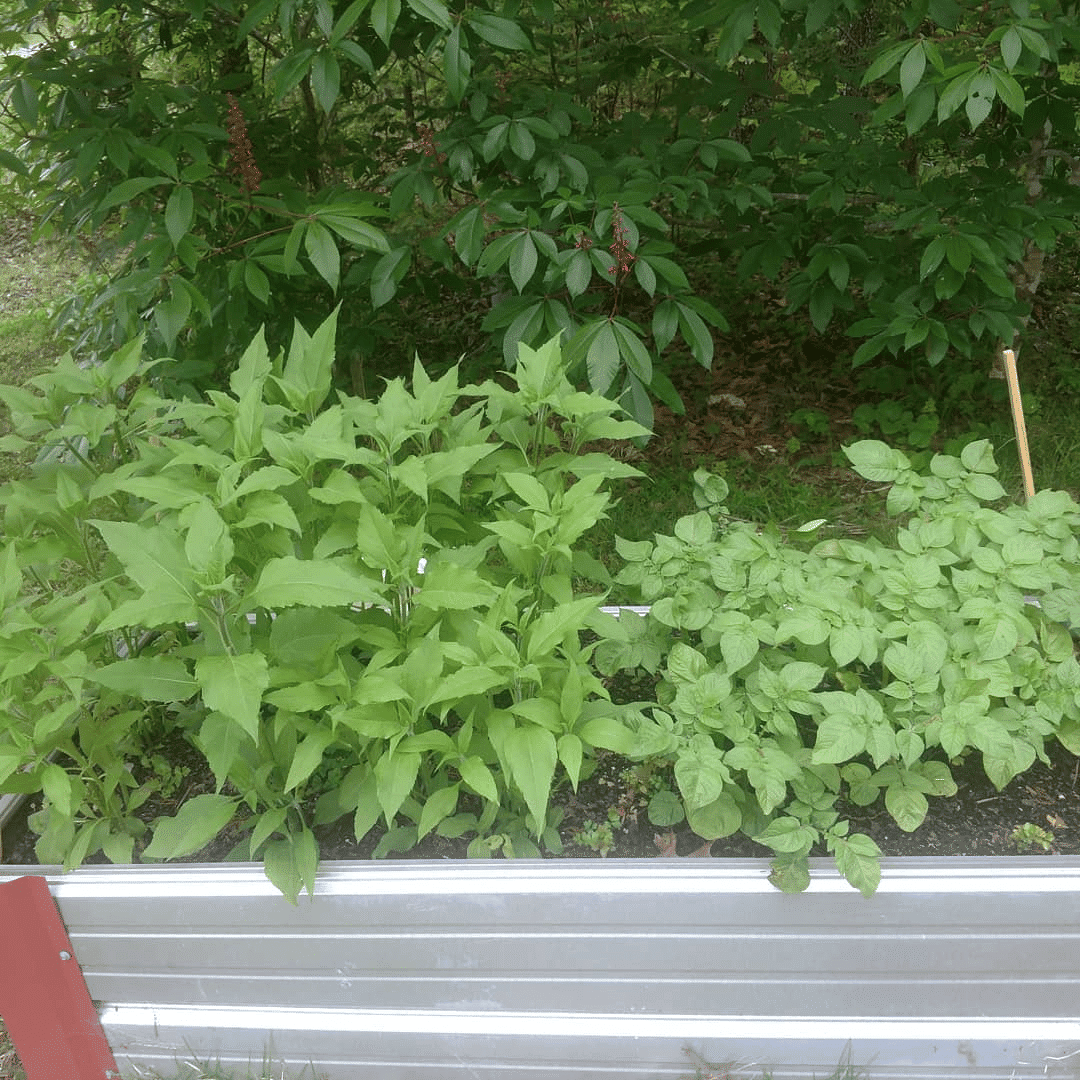
Picture 7 (above) is of the smaller 2’x5’x16” Hügelkultur raised bed growing tests crops of Jerusalem Artichokes (left) and potatoes (right) in early summer of 2020.
As a last tip Mulch, Mulch, Mulch! Raised beds have a major drawback, they have potential to dry out faster then a “normal” garden. This is why I use a hügelkultur technique to building a raised bed…wood and straw/hay in the bottom will retain more moisture without drowning the roots of your plants. On top of your soil, protect with mulch, you need to maintain a moist environment in the top 4”-6” of soil until the plant roots get down to the water reservoir that is the wood layer. We will get more into Mulch with the Lasagna/Ruth Stout garden, next time.
Until then here is a link to Hügelkultur: https://www.newlifeonahomestead.com/hugelkultur


